
In the world of precision woodworking, the router is perhaps the most versatile tool in the workshop. Whether you are flushing up an edge, cutting a complex profile, or hogging out material for a mortise, the quality of your work depends entirely on the integrity of your router bit. However, even the most expensive carbide-tipped bits can succumb to damage over time. One of the most insidious issues a woodworker can face is a warped or bent shank.
A warped router bit is not just a matter of poor finish quality; it is a significant safety hazard. When a tool spins at speeds exceeding 20,000 RPM, even a microscopic deviation from the center axis can result in massive centrifugal forces. This can lead to tool failure, damage to your router’s bearings, or even catastrophic injury if the bit shatters or kicks back. Understanding how to tell if a router bit is warped is an essential skill for every woodworker, from the weekend hobbyist to the professional cabinet maker.
Guide Navigation
The Anatomy of Carbide Tooling: Why Precision Matters
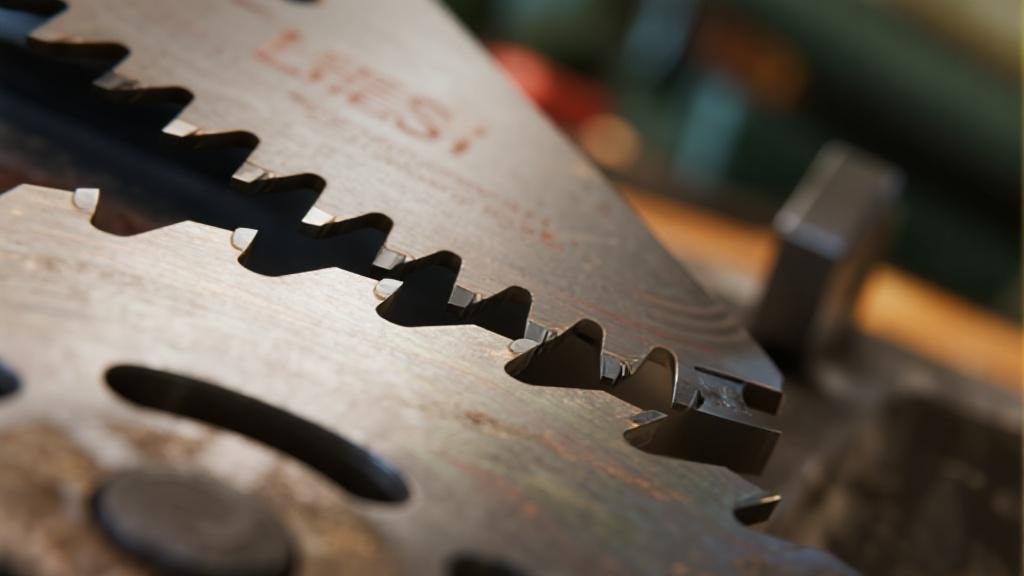
Before diving into diagnostic tests, it is crucial to understand why carbide is the industry standard. Tungsten carbide is an incredibly hard compound, capable of staying sharp up to 25 times longer than standard steel. However, that hardness comes with a trade-off: brittleness. Whether it is a router bit shank or a circular saw blade tooth, the material does not “bend” well under stress—it fractures or warps the underlying steel plate.
For carbide saw blades, the steel plate acts as the foundation. If this plate loses its tension or develops a “wobble” (similar to a warped router bit), the carbide teeth will not track straight. This results in wider kerfs, splintered wood, and increased strain on your saw’s motor. Professional sharpening and repair services don’t just “grind the tips”; they evaluate the entire geometry of the tool to ensure it performs as well as, or better than, the day it left the factory.
“A sharp blade is a safe blade. Most workshop accidents occur when a user has to apply excessive force to compensate for a dull or warped cutting tool. Professional maintenance is the cheapest insurance policy a woodworker can buy.”
How to Tell if a Router Bit is Warped
The Visual and Manual Inspection
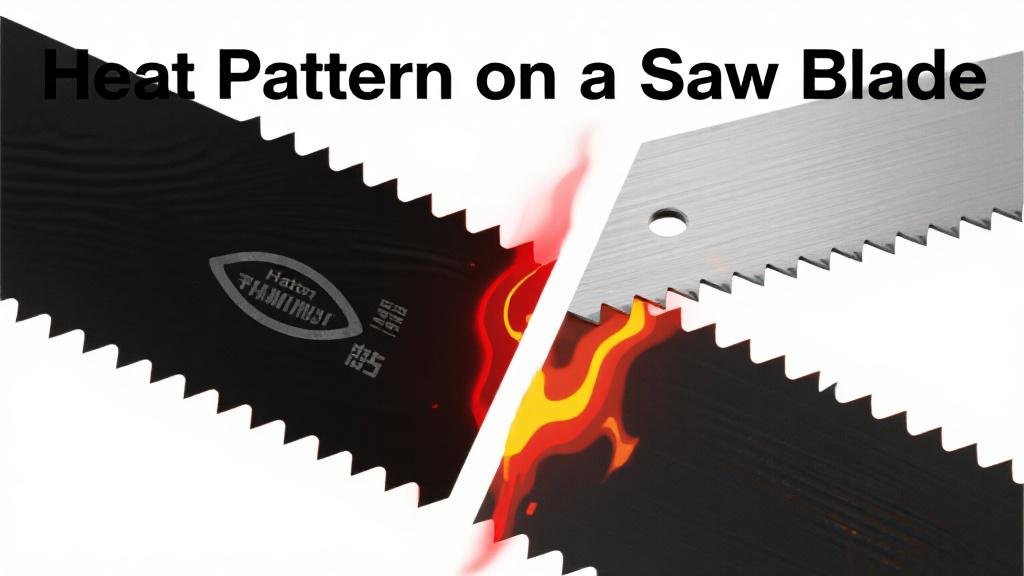
The first step in identifying a warped router bit is a thorough visual inspection. Clean the bit using a pitch and resin remover to ensure no debris is masking the true state of the metal. Look for discoloration or “bluing” on the shank, which indicates extreme heat buildup. Heat can soften the steel, making it prone to bending under load.
- The Roll Test: Place the router bit on a certified flat surface, such as a cast-iron saw table or a granite surface plate. Roll the bit slowly. If you see light flickering under the shank or if the bit “hops,” the shank is likely bent.
- The Collet Check: Inspect the shank for scoring marks. If the bit has slipped in the collet during a heavy cut, the friction can create uneven surfaces that mimic a warp.
- The Vibration Test: While the router is mounted in a table (and at its lowest speed setting), observe the tip of the bit. A warped bit will appear as a “blur” rather than a crisp silhouette. Warning: Do not attempt this at high speeds or if the vibration is audible.
Precision Measurement with a Dial Indicator
For professionals, “guessing” isn’t enough. Using a dial indicator and a V-block allows you to measure runout. Runout is the degree to which the bit deviates from its intended axis of rotation. A runout of more than .002 inches is generally considered unacceptable for precision woodworking and indicates a bit that should be retired or professionally repaired.
Signs Your Carbide Saw Blade Needs Professional Service
Identifying when a saw blade needs more than just a cleaning is vital for maintaining shop productivity. Look for the following red flags:
- Burn Marks on the Workpiece: This is the most common sign of a dull blade. As the carbide edges round over, they stop cutting and start rubbing, creating friction and heat.
- Increased Resistance: If you find yourself “pushing” the wood through the saw, the blade is dull. This increases the risk of kickback.
- Chipped Teeth: Hit a knot or a stray nail? Even a single chipped carbide tooth can throw off the balance of the blade and ruin the cut quality.
- Audible “Whistle” or Vibration: This often indicates that the blade is out of true or has lost its factory tension.
The Professional Sharpening Process: What Happens Behind the Scenes?
When you send your blades to a professional sharpening service, they undergo a rigorous process that cannot be replicated with a file or a simple diamond stone at home. Here is the step-by-step breakdown of a professional carbide sharpening workflow:
1. Ultrasonic Cleaning
Blades are submerged in an ultrasonic bath with specialized chemicals to remove every trace of pitch, resin, and sap. You cannot sharpen what you cannot see, and clean teeth are essential for accurate grinding.
2. Inspection and Straightening
The blade’s plate is checked for flatness using precision gauges. If the blade has “warped” due to overheating, a technician will use a process called hammering or tensioning to restore the plate to its perfectly flat state. This ensures the blade runs true without wobbling.
3. CNC Grinding
Modern sharpening utilizes 5-axis CNC (Computer Numerical Control) machines. These machines are programmed with the exact geometry of the blade—whether it’s an Alternate Top Bevel (ATB), Triple Chip Grind (TCG), or Flat Top Grind (FTG). The machine grinds the face, top, and sides of each tooth, removing only the minimum amount of carbide necessary to restore a razor-sharp edge.
Repairing the Damage: Carbide Tooth Replacement
One of the biggest misconceptions in woodworking is that a blade with a broken tooth is ruined. In reality, carbide tooth replacement is a standard repair procedure. Using a high-frequency induction brazer, technicians can remove the broken stump of a tooth and braze on a brand-new carbide tip.
This process requires precision:
- The new tooth must be the exact grade of carbide as the others.
- The braze (usually a silver-based alloy) must be applied at the correct temperature to prevent “brittle zones” in the steel plate.
- Once replaced, the new tooth is ground to match the existing teeth perfectly.
Comparing Maintenance Options: DIY vs. Professional
| Feature | DIY Sharpening | Professional Service |
|---|---|---|
| Precision | Low (Manual errors common) | High (CNC Controlled) |
| Blade Longevity | Removes too much material | Maximizes sharpenings (up to 15x) |
| Repair Capability | None (Sharpening only) | Tooth replacement & Tensioning |
| Cost | Cheap (Short term) | Moderate ($15 – $40 per blade) |
| Safety | Variable | Guaranteed (Full inspection) |
Pro Tips for Extending the Life of Your Carbide Tools

While professional sharpening is essential, how you treat your tools in the shop determines how often they need to visit the shop. Follow these industry best practices to keep your carbide in peak condition:
1. Clean Regularly
Don’t wait for a professional service to clean your blades. Use a dedicated blade cleaner every few days of heavy use. Pitch buildup increases friction, which leads to heat, which leads to dullness. A clean blade runs cooler and stays sharp longer.
2. Use the Right Blade for the Job
Using a 24-tooth ripping blade for cross-cutting plywood will result in tear-out and unnecessary wear on the teeth. Conversely, using an 80-tooth fine-finish blade to rip thick oak will cause the blade to overheat and potentially warp the plate. Match the tooth count and geometry to the material.
3. Check Your Feed Rate
Pushing wood too slowly causes “rubbing” and heat. Pushing too fast causes “chipping.” Find the “sweet spot” where the saw sounds consistent and the chips are uniform in size. If the saw is laboring, your blade is either dull or you are over-feeding the material.
“I used to think my table saw was underpowered. After sending my blades to be professionally tensioned and sharpened, it felt like I had a brand-new machine. The difference in cut quality and motor strain was night and day.”
— John D., Professional Cabinet Maker
The Safety Factor: Why You Can’t Ignore Warped Tools
Returning to our initial topic of warped router bits, the safety implications cannot be overstated. A warped tool creates an imbalanced load. In a router, this destroys the bearings. In a table saw, a warped blade can cause the wood to “pinch” against the riving knife or fence, leading to a violent kickback event.
When you invest in professional sharpening and repair, you aren’t just paying for a sharp edge; you are paying for structural integrity. A professional shop checks for cracks in the gullets (the spaces between the teeth) that are invisible to the naked eye. These cracks can lead to the blade literally flying apart at high speeds.
Conclusion: The Investment in Excellence
Whether you are checking a router bit for a warp or deciding whether to sharpen a 12-inch miter saw blade, the goal is the same: precision and safety. Woodworking is a craft of thousandths of an inch. You cannot achieve perfection with tools that are compromised by heat, wear, or damage.
By understanding how to diagnose issues like warped shanks and dull carbide teeth, you take control of your workshop’s performance. Don’t view tool maintenance as a chore or an occasional expense. View it as a fundamental part of the woodworking process. A well-maintained carbide blade will provide years of service, thousands of feet of clean cuts, and the peace of mind that comes with knowing your tools are safe and reliable.
Is your cut quality slipping? Don’t wait for a kickback or a ruined project. Perform a visual inspection today, check your bits for warps, and get your saw blades into the hands of a professional sharpening service. Your craft deserves the sharpest edge possible.