
Table of Contents
- Understanding Carbide Router Bits and Why They Chip
- Assessing the Damage: Can You Actually Fix It?
- Essential Tools and Safety Gear for Router Bit Repair
- Step-by-Step Guide on How to Fix a Chipped Carbide Router Bit
- The Role of Diamond Hones in Restoring Carbide Edges
- When to Send Your Bits to a Professional Sharpening Service
- Preventive Maintenance: How to Stop Chips Before They Happen
- Comparing Repair Methods: DIY vs. Professional Sharpening
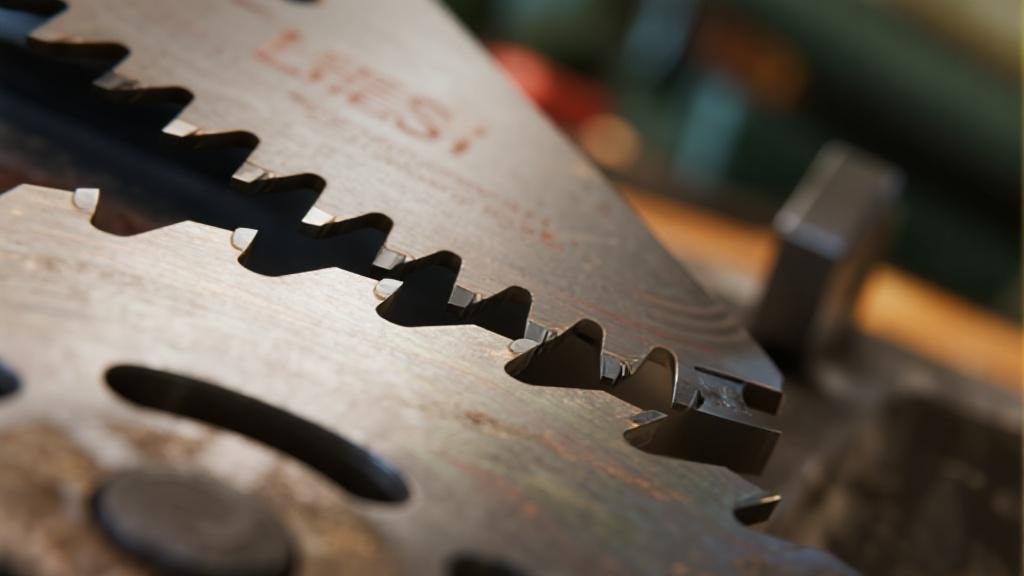
Every woodworker knows the sinking feeling of hearing a distinct “ping” or feeling a sudden vibration while routing a piece of fine hardwood. You pull the tool away, inspect the bit, and there it is: a jagged chip in the once-pristine carbide edge. Carbide is prized for its incredible hardness and ability to hold an edge far longer than high-speed steel (HSS), but that hardness comes at a price—brittleness.
When a carbide bit chips, many hobbyists assume the tool is destined for the scrap bin. However, depending on the severity of the damage, you can often restore the edge yourself or through professional services. This guide will walk you through the technical nuances of carbide maintenance, providing a deep dive into how to fix a chipped carbide router bit while prioritizing safety and precision.
Understanding Carbide Router Bits and Why They Chip
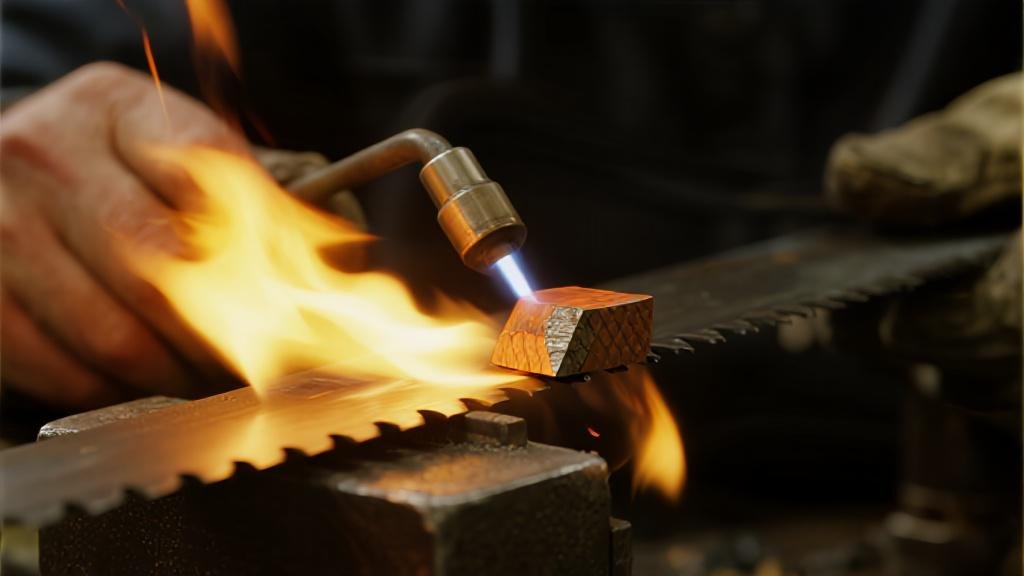
Tungsten carbide is a composite material made by “cementing” carbide particles with a metallic binder, usually cobalt. This structure allows the bit to withstand the high temperatures generated by friction during high-speed rotation. However, because it is a ceramic-like metal, it does not “bend” or “dent” like steel; instead, it fractures.
Pro Tip: Carbide is roughly 3x stiffer than steel. While it maintains its edge under extreme heat, it lacks the elasticity to absorb sudden impacts, which is why even dropping a bit can cause a catastrophic chip.
The Physics of Carbide Brittleness
Carbide ranks extremely high on the Mohs scale of hardness, but its fracture toughness is relatively low. This means that while it can cut through dense materials like MDF, plywood glues, and exotic hardwoods without dulling quickly, a sudden impact—such as hitting a hidden nail, a hard knot, or even dropping the bit on a concrete floor—will cause the edge to shatter.
Common Causes of Chipping
Most chips occur due to improper use or environmental factors. Using a feed rate that is too slow causes excessive heat buildup, which can micro-crack the carbide. Conversely, a feed rate that is too fast puts too much physical pressure on the edge. Furthermore, “pitch” or resin buildup on the bit acts as an insulator, trapping heat and making the carbide more susceptible to thermal shock and subsequent chipping.
Assessing the Damage: Can You Actually Fix It?
Before you pick up a sharpening stone, you must determine if the bit is a candidate for repair or if it has become a dangerous projectile waiting to happen. Not all chips are created equal, and safety must always be the primary concern in any workshop environment.
Micro-Chips vs. Structural Fractures
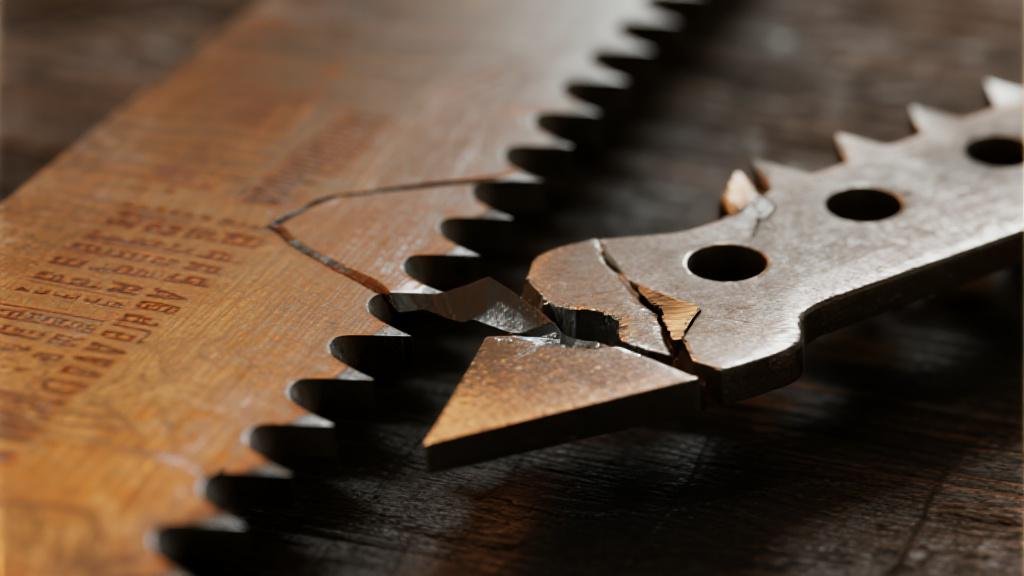
Micro-chips are small nicks that are barely visible to the naked eye but can be felt if you carefully run a fingernail (never a finger!) along the edge. These are easily fixed by simple honing. However, if a chip is deeper than 1/64th of an inch or if the crack extends into the steel body of the bit, the structural integrity is compromised.
Inspecting the Braze Line
Carbide tips are brazed onto a steel shank. Inspect the area where the silver-colored carbide meets the darker steel. If you see any daylight, cracks, or signs that the carbide is lifting away from the shank, the bit is trash. Attempting to fix a bit with a failing braze line is incredibly dangerous, as the tip could fly off at 20,000 RPM.
Essential Tools and Safety Gear for Router Bit Repair
If you’ve determined the chip is minor enough for a DIY fix, you need the right equipment. You cannot use standard oil stones or whetstones designed for steel knives; carbide is harder than the abrasives in those stones.
- Diamond Hones (Coarse, Fine, Extra-Fine): The only abrasive hard enough to cut carbide efficiently.
- Lapping Fluid: To lubricate the stone and prevent clogging.
- Resin Remover: To clean the bit before sharpening.
- Safety Gear: Dust mask and safety glasses are non-negotiable.
Step-by-Step Guide on How to Fix a Chipped Carbide Router Bit
The Golden Rule: Only ever hone the flat face of the carbide. Never touch the outer profile or the relief angle, as this will change the bit’s diameter and ruin the geometry.
Step 1: Deep Cleaning
Submerge the bit in a resin remover for 10-15 minutes. Use a brass-bristled brush to scrub away all baked-on sawdust and pitch. A clean bit allows you to see the exact extent of the chip.
Step 2: The Honing Motion
Place the flat face of the carbide wing onto the diamond hone. Apply firm, even pressure. Move the bit back and forth or in a figure-eight pattern. It is vital to keep the bit perfectly flat; if you rock the bit, you will “round over” the edge.
Step 3: Counting Strokes for Balance
To maintain balance, you must remove the same amount of material from every wing of the bit. If you stroke the chipped wing 20 times, you MUST stroke the non-chipped wing 20 times as well. Continue until the chip is gone.
The Role of Diamond Hones in Restoring Carbide Edges
Diamond hones are the heart of the repair process. Unlike traditional stones that wear down and become “dished” over time, high-quality diamond plates remain perfectly flat. This flatness is critical; any deviation from a flat plane on the carbide face will result in a poor cut and increased vibration.
When to Send Your Bits to a Professional Sharpening Service
While DIY honing is excellent for maintenance, professional intervention is the only choice for complex profiles or large diameter bits. Professionals use CNC grinding machines that provide a level of precision impossible to achieve by hand.
Preventive Maintenance: How to Stop Chips Before They Happen
- Proper Storage: Use a dedicated tray. “Carbide-on-carbide” impact in a drawer is a leading cause of nicks.
- Heat Management: Clean your bits after every project to prevent resin insulation.
- Material Inspection: Use a metal detector on reclaimed lumber to avoid hitting hidden nails.
Comparing Repair Methods: DIY vs. Professional Sharpening
| Feature | DIY Diamond Honing | Professional Service | Full Replacement |
|---|---|---|---|
| Cost | Low ($20-$50 for hones) | Mid ($10-$25 per bit) | High ($50-$200+) |
| Accuracy | Moderate (Skill dependent) | High (CNC Precision) | Factory Perfect |
| Turnaround | Immediate | 3-7 Days | Instant (if in stock) |
| Suitable For | Minor chips / Straight bits | Deep chips / Complex profiles | Structural damage |