
Maintaining the precision and efficiency of your cutting tools is a cornerstone of high-quality craftsmanship. Whether you are a professional woodworker or a dedicated DIY enthusiast, your saw blades are among your most critical investments. Over time, even the highest-quality blades suffer from wear, leading to dullness, chipped tips, or bent teeth.
A damaged blade doesn’t just produce poor results; it puts undue stress on your saw’s motor and increases the risk of dangerous kickbacks. Extending the lifespan of your blades is both a safety priority and a financial win.
In this comprehensive guide, we will explore the nuances of restoring various types of saw blades. We will cover everything from basic sharpening to the advanced metallurgical process of brazing new carbide tips. By following these professional techniques, you can ensure that your blades cut as cleanly as the day they were first unboxed.
Identifying Common Types of Damage
Before you begin the process of repairing teeth on saw blades, you must accurately diagnose the type of damage present. Most issues fall into three categories: dullness, physical deformation, and tip loss. Each of these problems requires a distinct approach to restoration and unique tooling.
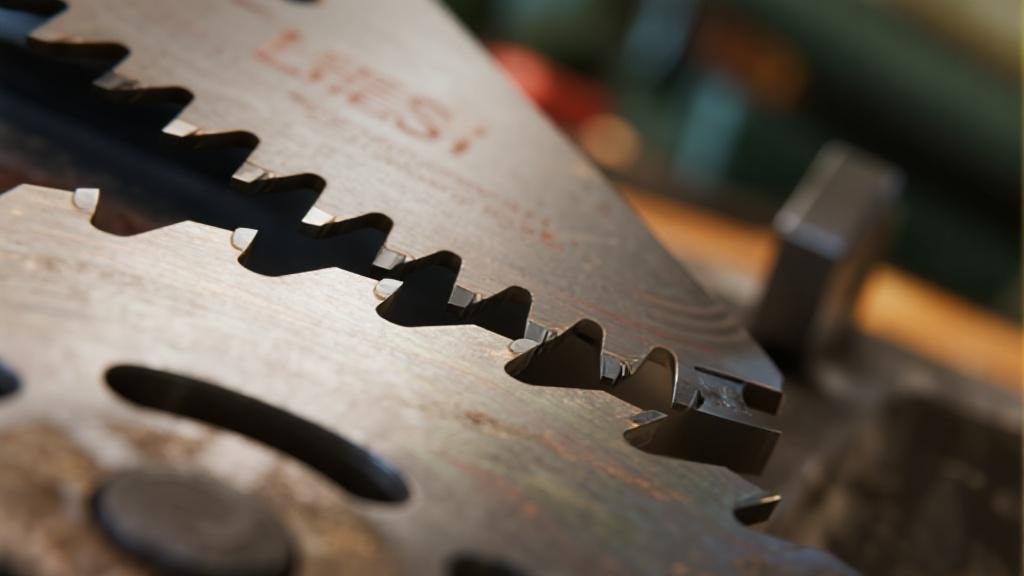
- Dullness: The most frequent issue, characterized by rounded edges on the cutting face of the tooth. You will notice that the blade requires more force to push through material.
- Chipped or Missing Teeth: Common in carbide-tipped blades after hitting nails or dense knots. A missing tip creates an imbalance, leading to vibration and further damage.
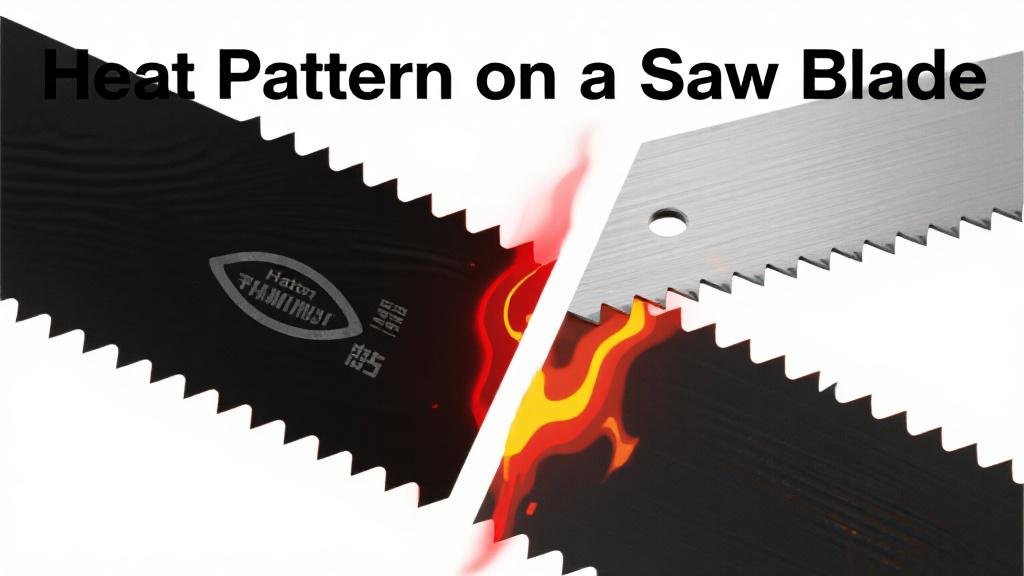
- Physical Deformation: Bent teeth or a warped blade plate, usually resulting from overheating. This creates a wider kerf and causes the blade to wander.
Essential Tools for Repairing Teeth on Saw Blades
Having the right equipment is paramount when repairing teeth on saw blades. The tools required depend largely on the material of the blade—whether it is high-speed steel (HSS) or carbide-tipped. Because carbide is significantly harder than steel, it necessitates specialized abrasive materials.
For HSS blades, a set of high-quality mill files and a saw set tool are indispensable. When dealing with carbide-tipped blades, you will need diamond-coated files or diamond grinding wheels. Standard steel files will not make a dent in carbide and will likely be ruined in the process.
The Decision Matrix: To Repair or Replace?
Not every blade is a candidate for restoration. Knowing when to stop repairing teeth on saw blades and simply buy a new one is a skill in itself. This decision is usually based on the severity of the damage and the quality of the original blade.
graph TD
    A[Inspect Saw Blade] --> B{Visible Damage?}
    B -- No --> C[Routine Cleaning]
    B -- Yes --> D{Is the Plate Cracked?}
    D -- Yes --> E[Discard Blade Immediately]
    D -- No --> F{Missing Carbide Tips?}
    F -- Yes --> G{More than 3 in a row?}
    G -- Yes --> E
    G -- No --> H[Professional Brazing/Repair]
    F -- No --> I{Dull or Bent Teeth?}
    I -- Dull --> J[Sharpening/Reshaping]
    I -- Bent --> K[Resetting Tooth Alignment]
    J --> L[Test Cut & Verify]
    K --> L
    H --> L
Manual Sharpening and Tooth Reshaping Techniques
Sharpening is the most common form of repairing teeth on saw blades. For HSS blades, this involves filing the face and the top of each tooth to restore a sharp, 90-degree or specified bevel angle. The key is consistency; every tooth must be filed the same number of times to maintain the blade’s balance.
For carbide blades, manual sharpening is possible with diamond paddles. You should focus on the “face” of the carbide tip—the part that hits the wood first. By removing a microscopic layer of material, you expose a fresh, sharp edge without changing the original geometry.
Brazing and Replacing Carbide Tips
Brazing is an advanced method of repairing teeth on saw blades that involves welding a new carbide insert onto the steel shoulder. First, the remains of the old tip must be removed by heating the area with a torch until the old solder melts. Once the pocket is clean, flux and silver solder are applied to bond the new tip into place via capillary action.
Correcting Tooth Alignment and Set
The “set” of a saw blade refers to the way the teeth are bent outward from the plane of the blade plate. This creates a kerf that is wider than the plate itself, preventing binding. To check the set, you can use a dial indicator or a specialized saw set gauge. If the teeth are too straight, the blade will generate excessive heat and smoke.
Cleaning and Lubrication as Preventative Repair
Many people begin the process of repairing teeth on saw blades only to realize the teeth weren’t damaged, just dirty. Pitch and resin can mimic the symptoms of a dull blade.
Cleaning your blades regularly is the best way to avoid unnecessary repairs. Soak the blade in a specialized cleaner for 10-15 minutes, then scrub with a brass-bristled brush. Once clean, apply a dry Teflon-based lubricant to help prevent future resin accumulation and reduce friction-induced heat.
Comparing DIY vs. Professional Sharpening Services
When it comes to repairing teeth on saw blades, you must weigh the benefits of doing it yourself against the precision of a professional service. DIY repair is excellent for HSS blades, but high-performance carbide blades often require CNC (Computer Numerical Control) grinders found in professional shops.
| Repair Method | Best For | Precision | Cost Benefit |
|---|---|---|---|
| Manual Filing | HSS & Steel Blades | Moderate | High |
| Diamond Honing | Carbide Touch-ups | High | High |
| CNC Grinding | Industrial Carbide Blades | Extreme | Moderate |
| Professional Brazing | Missing Carbide Tips | High | High |
Conclusion: Mastering Blade Maintenance
Repairing teeth on saw blades is a vital skill for any serious craftsman. By accurately diagnosing damage, using the correct abrasive tools, and knowing when to call in a professional, you can keep your workshop running at peak efficiency. Remember that a sharp blade is not just about the quality of the cut—it’s about the safety of the operator and the longevity of your machinery.